Mounting a USB Drive on Ubuntu: A Step-by-Step Guide
Mounting a USB drive in Ubuntu can seem intricate at first, but with a structured approach, it becomes straightforward. This article provides a comprehensive guide on how to mount a USB drive onto a Ubuntu system.
Ensure that USB sharing is enabled on Virtual Machine
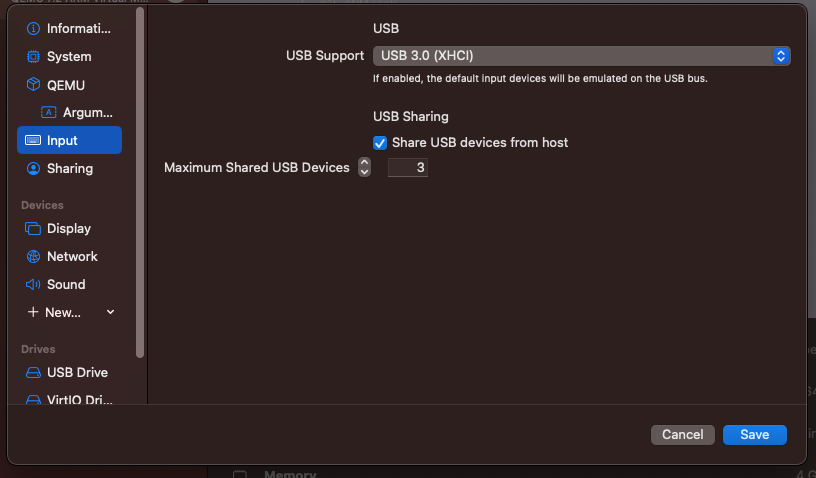
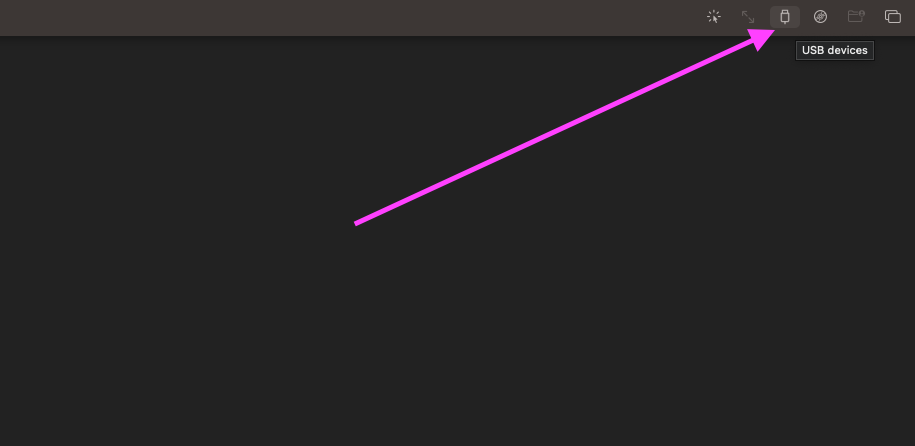
Connect the USB drive that you want to experiment with using this dropdown
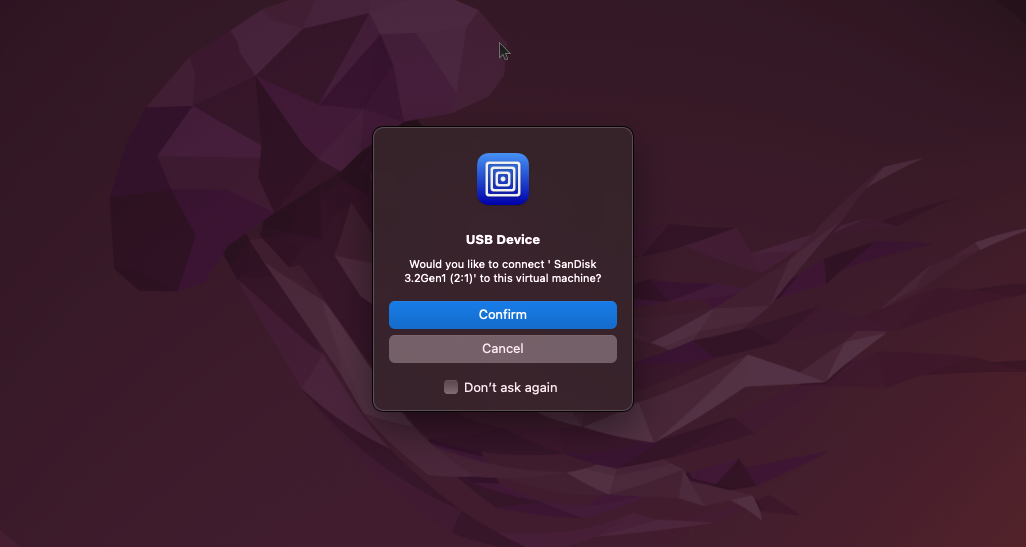
Once Sharing Is Enabled UTM will prompt to connect when device is attached
1. Listing Currently Mounted Devices
Before we insert the USB drive, it's beneficial to view the devices currently mounted on the system. By doing this, we can easily spot the new entry corresponding to our USB drive once it's inserted.
To list the mounted devices, use the
lsblkcommand which stands for: list information about all available block devices in Linux
lsblk
This command outputs a list of storage devices and their mount points. Take note of the devices currently listed.
2. Inserting the USB Drive
Insert your USB drive into an available USB port on your Ubuntu machine. Wait for a few seconds to ensure that the system detects the drive.
3. Listing Devices Again to Identify the USB Drive
Run the lsblk command once more:
lsblk
Compare the new output with the previous one. You should spot an additional
entry, representing the USB drive you just inserted. Typically, internal drives
are labeled as sda, sdb, etc., and USB drives follow in sequence. However,
always rely on the size and other attributes to confirm the device identity.
4. Unmounting the USB Drive (if it's automatically mounted)
Often, modern Linux distributions, including Ubuntu, will auto-mount USB drives when they're inserted. Before manually mounting it elsewhere or for other operations, you might want to unmount it first.
To unmount the device, use the umount command followed by the device's mount
point or the device path. Suppose your USB drive has been detected
as /dev/sdc1 and mounted at /media/ubuntu/my_usb, you would do:
sudo umount /media/ubuntu/my_usb
Or using the device path:
sudo umount /dev/sdc1
5. Manually Mounting the USB Drive
Now that we've ensured our USB drive is unmounted, we can mount it to our desired location.
First, create a mount point, which is just a directory where the USB's content will be accessible:
sudo mkdir /mnt/my_usb
Now, mount the USB drive to this directory:
sudo mount /dev/sdc1 /mnt/my_usb
Your USB drive's contents are now accessible under /mnt/my_usb.
6. Unmounting the USB Drive (Post-Manual Mount)
After you've finished working with the USB drive, it's crucial to unmount it before physically removing it from the system. This ensures all data operations complete and preserves the integrity of the data on the drive.
To unmount:
sudo umount /mnt/my_usb
After running this command, it's safe to remove the USB drive from your system.
Conclusion:
Mounting a USB drive in Ubuntu is a straightforward process once you understand the steps and commands involved. Always ensure to unmount drives properly to avoid potential data loss. With these steps in hand, you can confidently manage USB drives on your Ubuntu machine.
What Can You Do Next 🙏😊
If you liked the article, consider subscribing to Cloudaffle, my YouTube Channel, where I keep posting in-depth tutorials and all edutainment stuff for software developers.